Custom chenille patches offer a sophisticated way to add texture and luxury to your clothing and accessories. Known for their soft, plush feel and vibrant colors, these patches can elevate any item with a unique and stylish touch. Whether you’re creating patches for a sports team, school club, or personal fashion statement, custom chenille patches bring a distinctive flair that sets you apart.
What Are Chenille Patches?
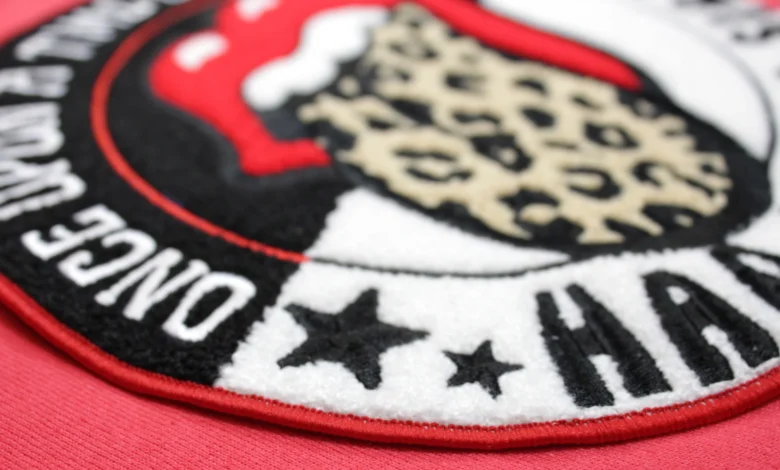
chenille patches no minimum are made using a special process that creates a fuzzy, textured surface. The word “chenille” comes from the French word for “caterpillar,” which describes the patch’s soft, velvety texture. These patches are often used for letterman jackets, varsity sweaters, and other apparel where a bold, tactile statement is desired.
Benefits of Custom Chenille Patches
Custom chenille patches offer several advantages over other types of patches, including:
Rich Texture
The hallmark of chenille patches is their plush, three-dimensional texture. This tactile quality adds a layer of depth and interest to your designs, making them stand out more than flat, embroidered patches.
Vibrant Colors
Chenille patches are known for their ability to hold bright, vibrant colors. The material used in these patches can be dyed in a wide range of hues, allowing for eye-catching and dynamic designs.
Durability
Despite their soft appearance, chenille patches are quite durable. They are designed to withstand regular wear and tear, making them suitable for items like jackets and bags that are used frequently.
Designing Your Custom Chenille Patch
Creating a custom chenille patch and iron on logos uk involves several steps to ensure your design is both beautiful and functional. Here’s a guide to help you through the process:
Step 1: Conceptualize Your Design
Start with a clear idea of what you want your patch to represent. Consider the purpose, the message, and the overall look. Sketch out your ideas or use digital design tools to create a detailed concept.
Step 2: Choose Your Colors
Select colors that complement your design and the item to which the patch will be applied. Chenille patches are particularly effective with bold, contrasting colors that highlight the textured surface.
Step 3: Select the Size and Shape
Determine the size and shape of your patch based on the available space and the level of detail in your design. Common shapes include letters, numbers, mascots, and custom silhouettes.
Step 4: Finalize Your Design
Refine your design to ensure it translates well into the chenille medium. Consider the thickness of the chenille fibers and how they will affect the visibility of finer details.
Step 5: Production
Once your design is finalized, it will be sent to a manufacturer who will create the chenille patch. The process involves tufting the chenille yarn through a fabric backing to create the desired texture and shape.
Applying Your Chenille Patch
After receiving your custom chenille patches, you’ll need to attach them to your apparel. Here are a few common methods:
Sew-On
Sewing the patch onto your item is the most secure method. This is especially important for items that will undergo frequent use or washing.
Iron-On
Some chenille patches come with an iron-on backing, which allows for easy application using a household iron. This method is convenient but may not be as durable as sewing.
Adhesive Backing
For temporary applications, you can use patches with adhesive backing. This allows you to place the patch on different items without making a permanent commitment.
Conclusion
Custom chenille patches are a luxurious and stylish way to personalize your apparel and accessories. Their rich texture, vibrant colors, and durability make them an excellent choice for anyone looking to make a unique statement. Whether for school, sports, or fashion, chenille patches add a touch of elegance and uniqueness that sets your items apart.